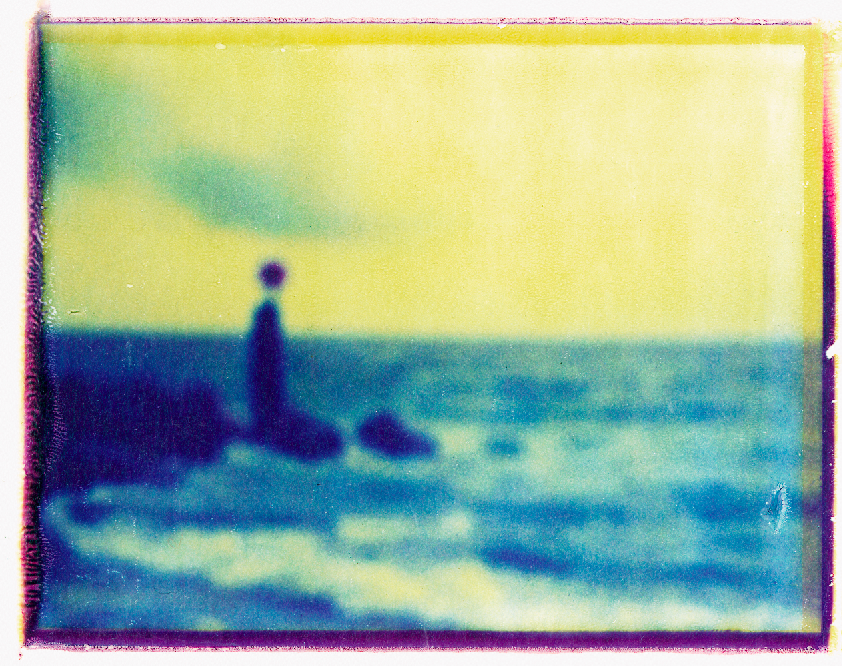
Now I stand here
Where the ocean’s blueness
Is without limit
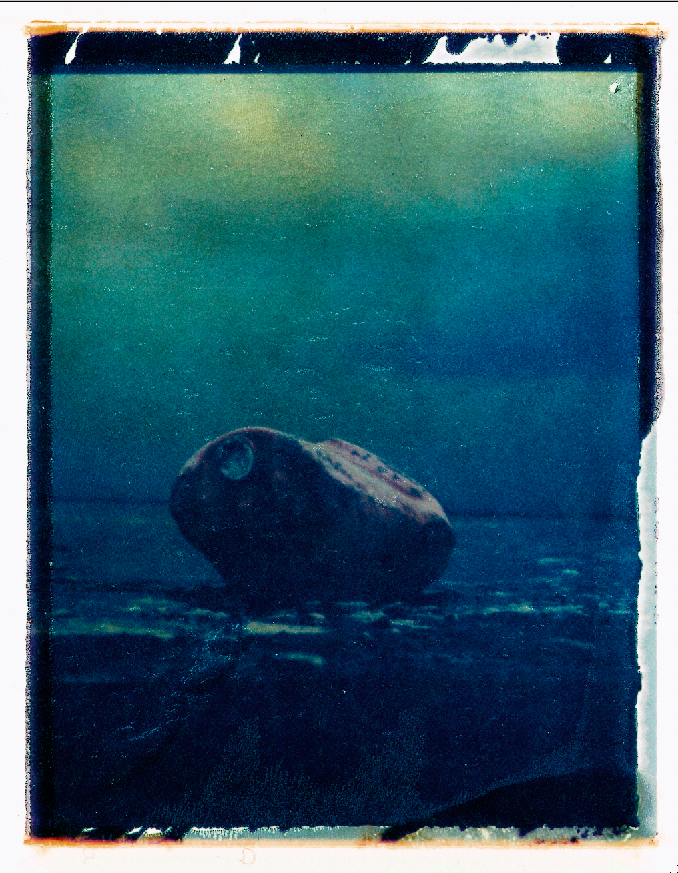
The haiku that inspired a trip to Bournemouth, England, and the following examples of Polaroid transfer.
Polaroid has been a long lasting love relationship of mine that came to abrupt when Polaroid decided to stop producing their films. My all time favorite, Polaroid 669, was discontinued and the new and improved version did not work well as a polaroid transfer medium.
I still got the Polaroid camera with interchangeable lenses, the Polaroid bucket for large format polaroid films to be stored on location, the Polaroid Polaprinter, even the 8×10 Polaroid developer and more.
Experimenting with Polaroids was great. The roughness, the imperfections, the random results, all of that by using hands on techniques appealed to me.
– First step. Be prepared.
– You will need Polaroid film, now possible by the Impossible Project. (Disclaimer, I have not used the new films yet.)
– Have a small roller ready, some 2-3mm thick foam board, smooth surface. I found those the best. Cut them down to size.
– Get something interesting to photograph and take out the polaroid.
– Let it develop between 10-15 seconds before peeling of the emulsion and placing it on the foam board.
– Use the roller to transfer the dyes into the foam board surface.
– Wait.
– Remove the emulsion and you have now done an emulsion transfer.
The transfer is different to the lift technique.
The lift technique involves separating the Polaroid surface from the base and place it on your new base of choice, often paper. The separation takes place in water and requires a lot of patience as well as a steady hand, otherwise you will rip it apart. I have to dig further in my archive to find some.
Here is a link to a PDF book about Polaroid transfer that I found online.
Enjoy!

